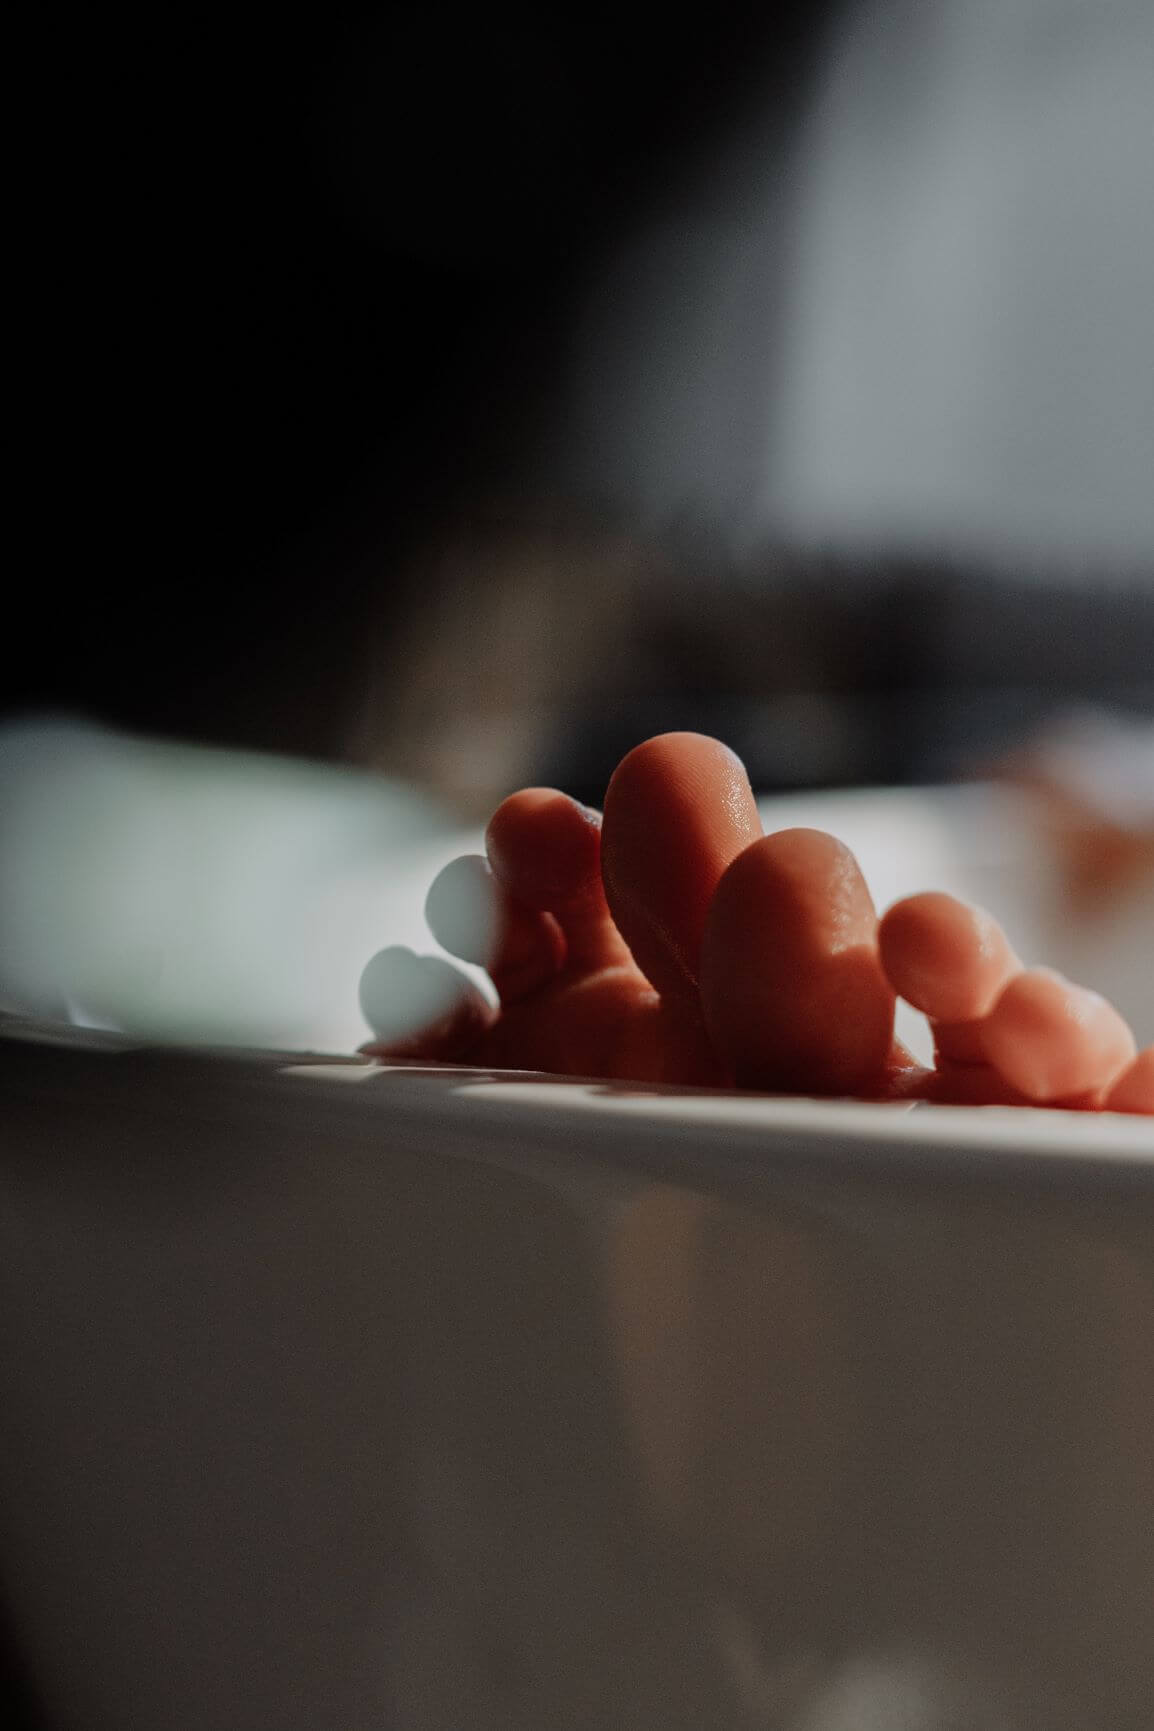
Blisters are for squares! If I could live the rest of my life without a hiking blister (let alone, any blister!) I would. Wouldn’t we all?

Leave those Pesky Shoes Behind
Today I’m going to explain to you how to prevent blisters while hiking! A girl in one of my hiking groups on facebook recently asked me this and I thought it was the perfect question for a blog post!
Hiking blisters are a common occurrence for just about anyone. A hiking blister is just a name for a blister on feet! These can also be from wearing high heels, but here we are going to call them hiking blisters because that’s what this blog is about. There’s nothing worse than blisters on your feet when hiking.
There’s multiple ways to prevent or, at the very least, reduce the intensity of your hiking blisters. Here is a list of how to handle these loose-skin fire bubbles of doom:
How to Take Care of Hiking Blisters
How Blisters are Formed
First, let’s talk about what a blister even is and how you get one in the first place. A lot of you already know this, but just for the sake of people who are new to blister education, let’s add this here. A blister is a small pocket of bodily fluid formed on the surface of the skin, usually caused by friction, burning, freezing, or chemical exposure.
This fluid could be clear serum or blood (blood blisters), but for the purpose of this post we are mostly going to be focused on a blister that was caused by friction, as that is the most common blister you are likely to experience while hiking (and most likely, the type of blister this lovely person asked about).
So, friction. A hiking blister forms when your feet are rubbing too much against your shoes or themselves. The reason it forms is because your body is trying to protect the tissue underneath from getting further damaged and allowing it a space to heal.
I think this is funny because a blister feels like damage in and of itself, but it’s actually protecting us from further damage. I mean, I guess it works because it sure is likely to get us to stop whatever we are doing! (Therefore, no more rubbing and now the area can heal!)
Yet, us stubborn hikers, we like to keep going. A hiking blister too early on the journey is annoying as shit. So how do we prevent these little rude ass m*ther f*ckers? (Back to Top)
How to Prevent Blisters on Feet- Finding the Right Shoe
There are several ways we can prevent blisters. Since blisters form from rubbing and this can be exacerbated by a moist environment (think sweat or crossing rivers!), the first thing we need to do is figure out how to eliminate the rubbing.
Finding the right shoe for your foot is super important. I think I have an advantage here because I’m such a lover of being barefoot that I am picky as hell when I put on a shoe. I hate when it feels constricting in any way!
I remember the first time I bought hiking boots. I asked the REI employee “People hike in this? It feels so tight on my toes” and he answered “Well, you want it to be snug because the more it moves around, the more you may get a hiking blister.” But I got a blister on my feet between my toes from those shoes and returned them. Too tight can also lead to hiking blisters!
Try on all the shoes. Learn your feet. Do you have wide feet? You may be like me and an Altra Shoe is going to be so comfy. Narrow feet? I’ve heard that Keen’s run a bit narrower. I definitely suggest buying from a company that has a generous return policy so you can give them a try! (REI is awesome! Amazon is also easy to return to) Shoes are expensive and you definitely want one that does NOT give you blisters on your feet.
If the shoe is bothering your foot right out of the box, there’s a good chance that won’t change! Yes, we always need to break in a shoe, but it should feel comfy as soon as you buy it.
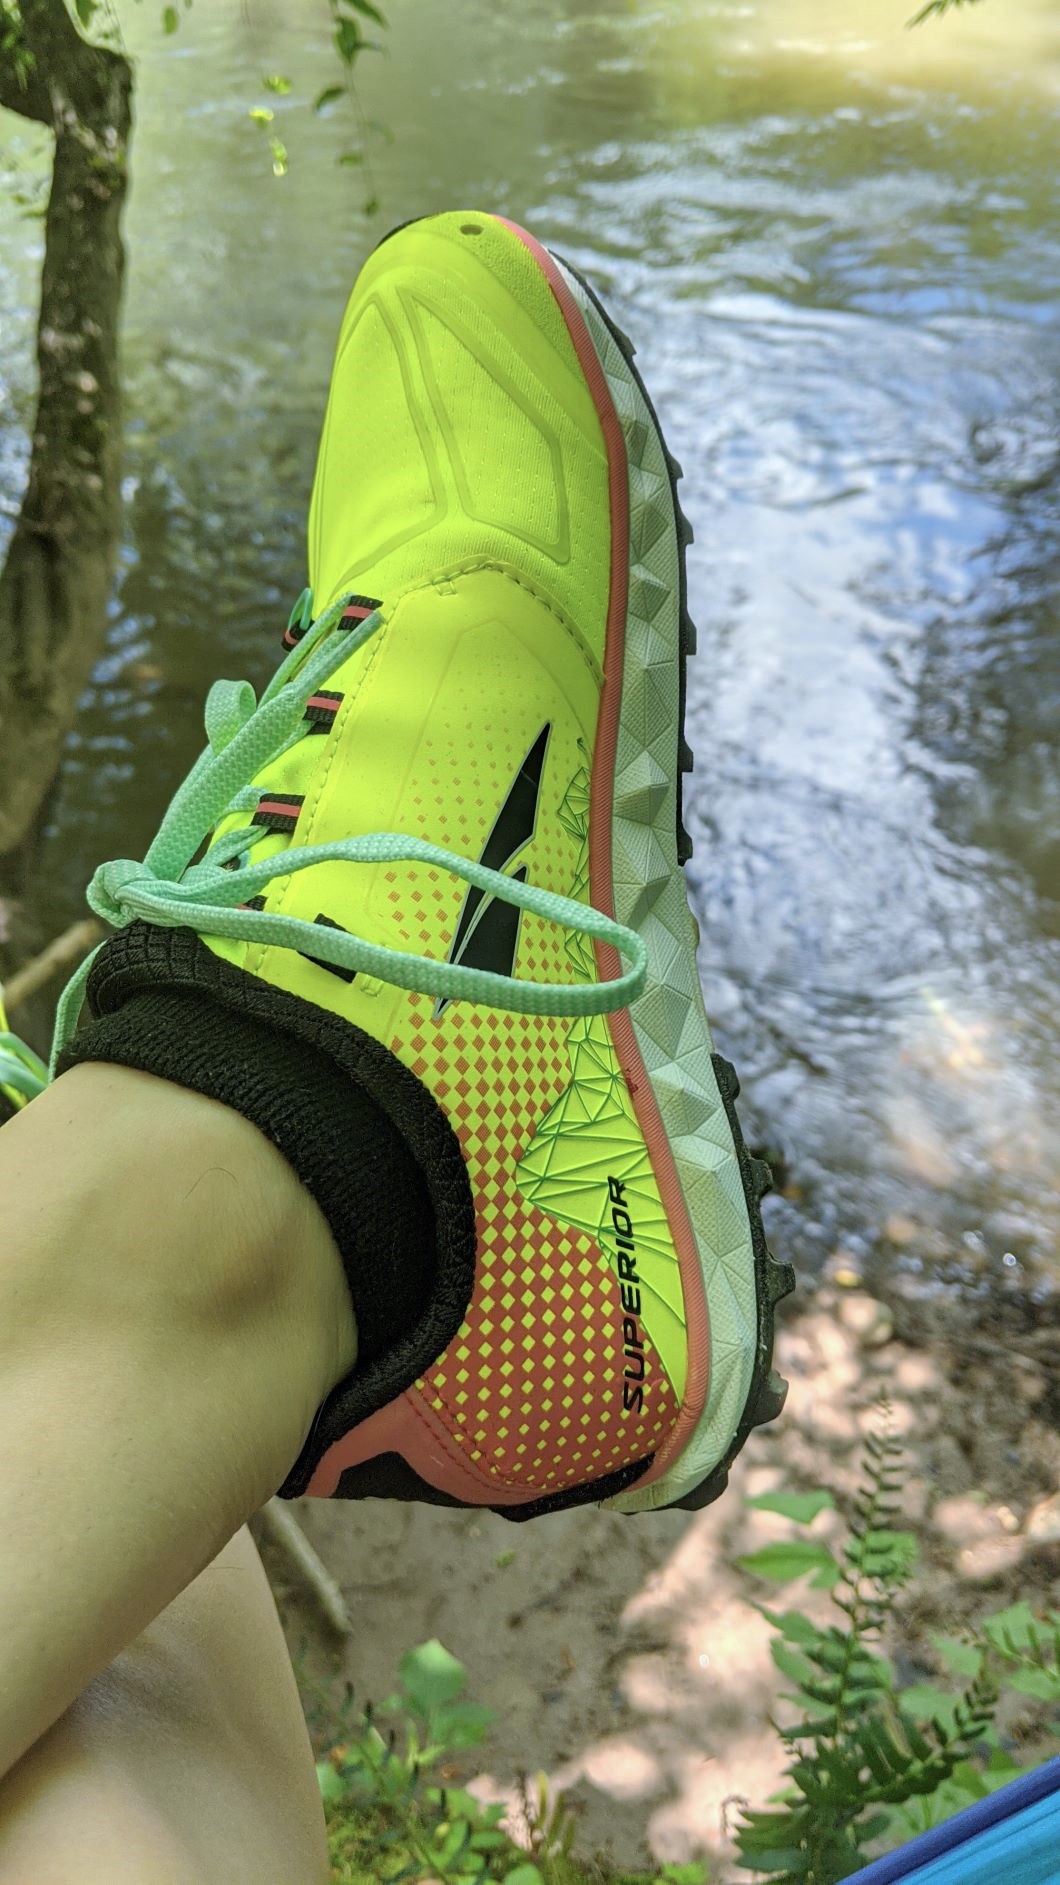
I love my Altra shoes!
Speaking of breaking a shoe in, don’t wear a new shoe on a long hike. Do some shorter ones first. Even if it’s a well-fitting shoe, hiking blisters can still form. No one is immune, yet I really do believe you can nearly eliminate them, especially if you find yourself getting them on almost every hike!
I’ve hiked every single day in a row in Washington State blister-free. I’ve hiked Grandfather Mountain in NC blister-free. I’ve hiked a volcano in Guatemala blister-free. All of my local hikes are blister-free. It’s totally possible! (Back to Top)
What About Socks? Do they Really Matter?
Absolutely. I used to get so many blisters until I educated myself on socks. I just wore normal athletic socks until I was introduced to the world of hiking socks and sock liners. First of all, when choosing a sock- you do not want cotton!
This is going to hold moisture and you want to get rid of moisture! You need sweat-wicking and quick dry materials such as wool or alpaca. Smartwool & Darn Toughs are my go-to brands of choice for hiking socks and they make different levels of thickness for summer and winter. And Darn Tough’s LIFETIME warranty is on point!
And then there’s these great things called sock liners. Not everyone likes them, but I am obsessed and I dramatically reduced the amount of blisters I get (I think I’ve started to get ONE blister over the past several years with my sock liners and that was on a 23 miles in one day hike), whereas it used to be much more common.
Sock liners are thin synthetic-material socks that go between your foot and your real socks! They are designed to help prevent hiking blisters on your feet by adding an additional sweat-wicking layer to keep moisture out. If you are a big sweater, it may be good to bring an extra pair and change out half-way through your hike!
I have a couple of pairs that I bought from REI, but I found some on Amazon that look just as good and are a better deal!
Should you or shouldn’t you sock liner? I definitely like mine. And check out this person’s experience near the Grand Canyon.
To read a little more information on deciding which sock liners to get, check out this blog post. I am personally happy with the one’s that I purchased from REI, but they are now old and getting holes so I need to buy more. I will most likely try these Fox River ones next because it’s a better deal and they look pretty similar. If anyone has already tried these, feel free to leave me a comment! (Back to Top)
Other Ways of Preventing Hiking Blisters on Your Feet
Some other things we can do to prevent hiking blisters is make sure our toenails are cut. Having your toenails hit the front of the shoe or your other toes can be really painful! I’ve cut myself with my own toenail before. Don’t be one of these people. 
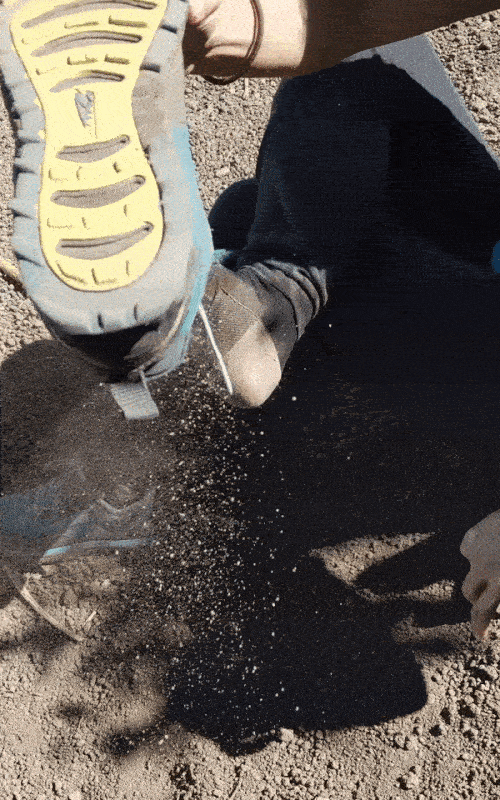
Like toenails, debris in our shoe can also cause hiking blisters. When I was hiking Volcano Acatenango in Guatemala, I got a lot of sand in my shoe. Dump that shit out.
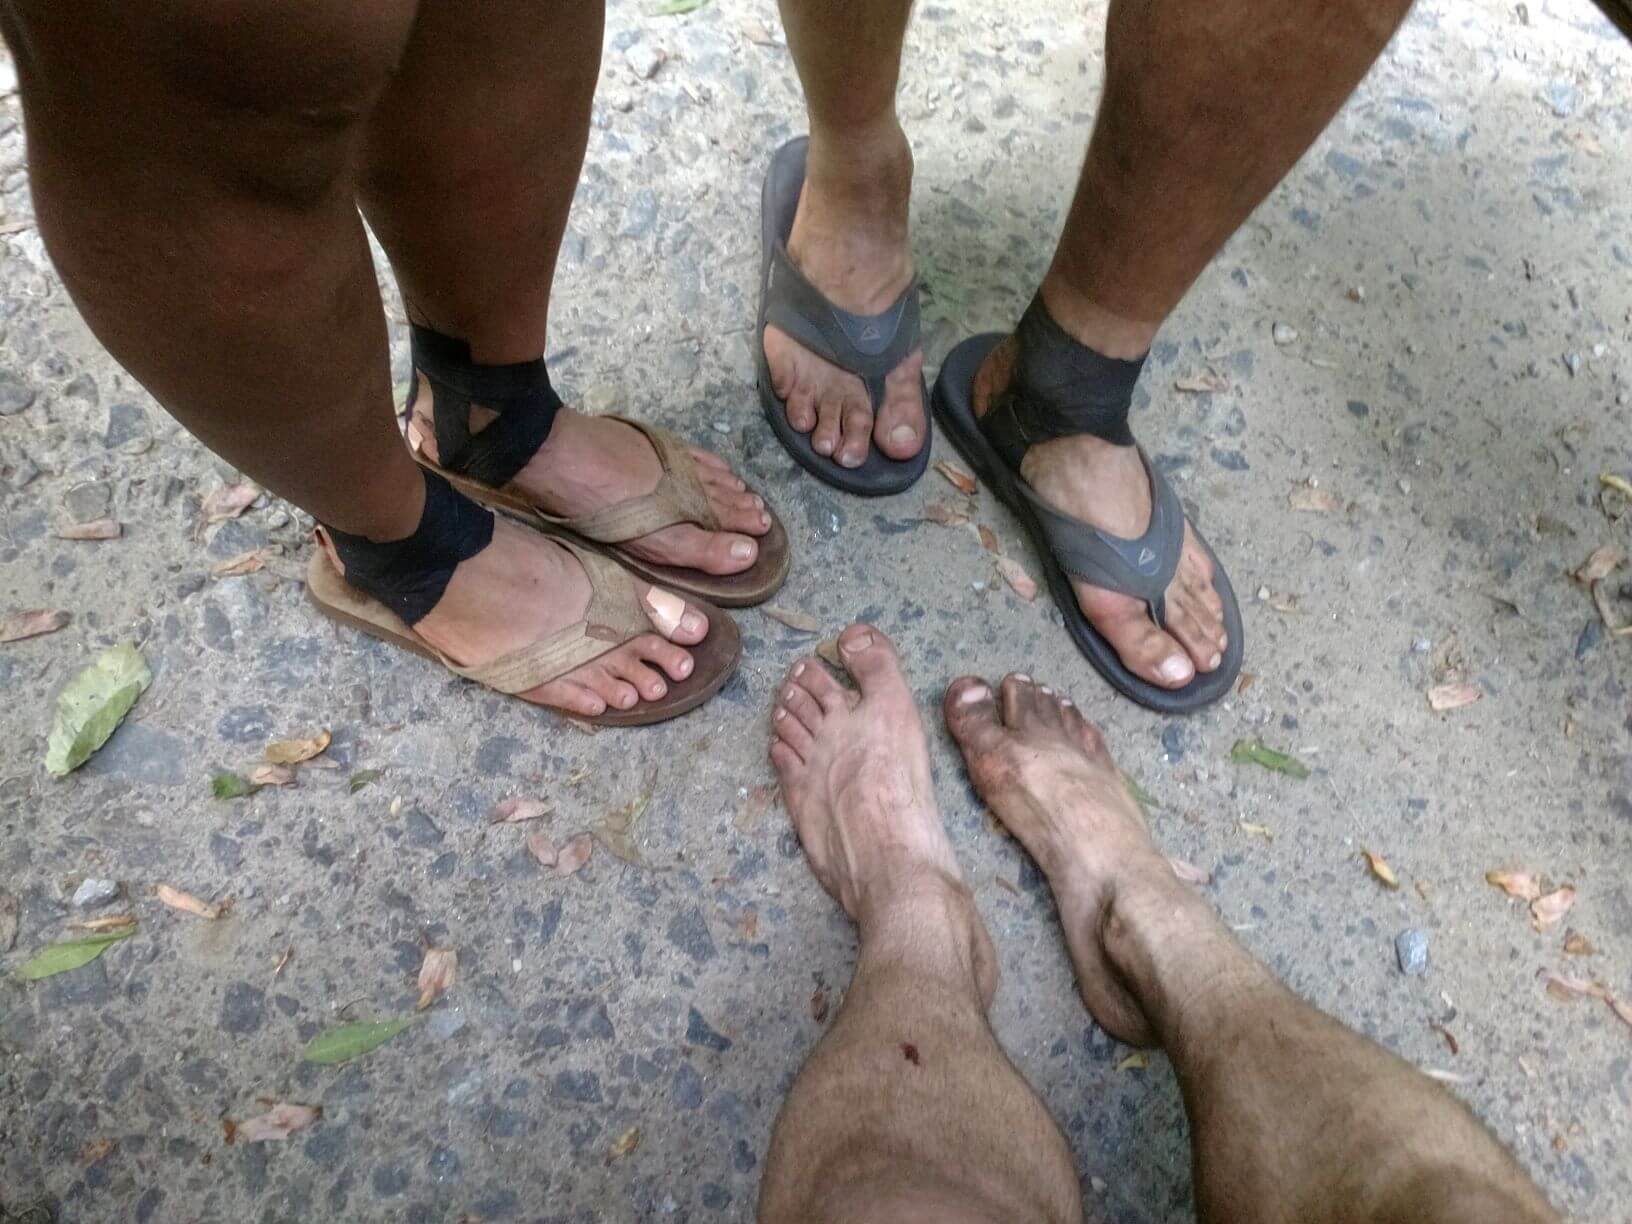
If you have to cross any rivers, take your shoes and socks off. Allow your feet to fully dry before returning to your shoes and socks. That extra amount of time it takes to stop and do this is worth not ruining your hike with a blister. Having wet feet increases the likelihood of forming blisters.
I’ve never personally paid attention to this next bit, as I felt that between the right shoes and socks, I no longer struggle a lot with blisters, but apparently lacing your shoes properly can also help. See this article’s explanation of how lacing your shoes correctly can help prevent your feet from sliding around.
I’ve also read that some shoe inserts help prevent your feet from sliding around. Found that in an article from Backpacker.com, but that’s news to me. I personally don’t like shoe inserts, but I also like to be barefoot and as free as possible (partially why I love the way my Altra shoes fit.), but I definitely also know that everyone has extremely varying taste when it comes to shoes. You’ve got to do the research and do what’s best for you. Be body aware.
Speaking of body-awareness, you also need to be aware of areas on your feet that commonly get blisters. If you get a blister in the same spot on every single hike, maybe you should tape that up BEFORE you even start. And that leads me to the next section of this post: (Back to Top)
Treat Your Hot Spots Before They Become Hiking Blisters
A hot spot is where your skin is starting to separate, but before the fluid rushes in to form the blister. As backpacker.com explains it:
“…imagine rubbing your thumb against the skin of a ripe peach. The skin moves under your finger. If you press harder, the skin wrinkles, then tears. The same process is at work on your skin: the outer layers can move more than the sensitive inner layers can, and with enough moisture and friction, they suffer damage—a blister.”
The hot spot is basically what you feel before you get the full-on blister. You can kind of tell your foot is getting irritated. STOP RIGHT NOW! Most of us don’t want to stop because we just want to keep hiking, but your body is warning you and this is a good time to stop and take care of it before it gets worse.
Moleskin is your best friend here. It should be in everyone’s first aid kit. Some people use duct tape. Whatever, you do you, but I love moleskin. I actually learned about moleskin first from my dance community. We get lots of blisters from dancing in heels (salsa and bachata!) and someone I knew told me about moleskin. Then I found out it’s used often for hiking as well!
Just stop, take your shoes and socks off, dry out your feet for a minute and tape a piece of moleskin over that hot-spot and you’re good to go.
I got a hot spot on my first 23 mile hike. Moleskin on and never got a blister! Do not forego the moleskin. What if you didn’t do that and now you’ve got hiking blisters? (Back to Top)
How to Treat Blisters
Well, here is where the importance of a first aid kit comes in. You should already have this in your backpack if you are hiking, so make sure you read my post about what to have in a kit!
Before I go any further, I have to remind you all that I am not a medical professional. I am not a nurse. You can do what you want with my advice under the understanding that I am not these things nor liable for your mistakes. I am a human being sharing what I have learned and that’s it, pure and simple.
That being said, I have taken a wilderness first aid course. And I have researched a lot of different blogs. Yes, there are certain blisters you SHOULD NOT POP (like one’s caused from burns!), but on a hike- that sucker is most likely going to pop anyways. Therefore, better to pop it on your own using the proper first-aid gear, rather than let it pop and fester in your shoe.
If it’s just a tiny blister and all the skin is intact, it’s probably fine to ignore and just put moleskin on it for future rubbing, but if it’s pretty big and you’re a ways out from the end of the hike, you gotta pop it to be able to walk!
Alone or not, you gotta walk ahead
Here’s how to properly pop and treat hiking blisters:
- Remove your shoes/socks and identify the blister.
- Thoroughly wash your hands
- Clean the blister and surrounding area with soap and water or an alcohol wipe from your first aid kit.
- Sanitize a needle, such as a safety pin from your first aid kit. You can do this with another alcohol wipe or by holding your needle over a lighter for a minute.
- Gently pierce the bottom of the blister and begin massaging the fluid out
- LEAVE THE SKIN IN TACT. Don’t peel that remaining layer of dead skin off.
- Cut a doughnut shape out of your moleskin and put the blister in the doughtnut hole.
- Add some antibiotic treatment to the blister
- Cover the area with medical tape, duct tape, or KT tape.
- Check on the blister every 6 hours or so to clean and change the medical dressing (you can leave the moleskin)
And that’s it! Hopefully you are able to prevent your blisters with the information above, as it is a quick way to an unpleasant hike. If you’ve found this information helpful, please don’t forget to subscribe to my newsletter so you don’t miss any of my post updates 🙂
If you have further information, feel free to leave it in the comments below. Happy Hiking! (Back to Top)
0 Comments